
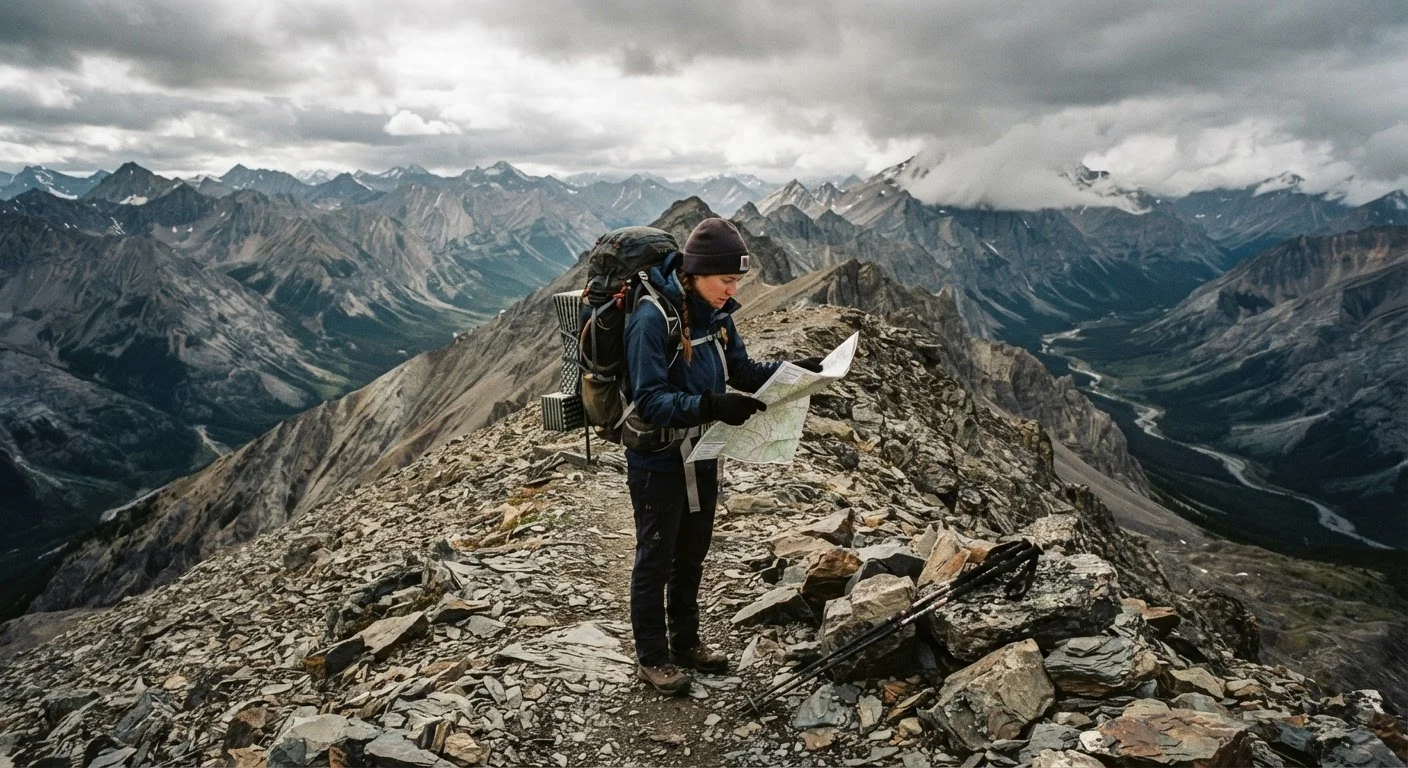
Why Solo Hiking Carries a Different Risk Profile
Hiking alone isn't inherently dangerous, but it removes the safety buffers that group hiking provides. In a group, one person can stay with an injured hiker while another goes for help. Solo, those options disappear. A twisted ankle on a remote trail that would be a minor inconvenience in a group of four can become a serious survival situation when you're alone.
The most common solo hiking risks are medical emergencies without witnesses, navigational errors with no one to cross-check your judgment, and delayed search-and-rescue response when no one knows precisely where you are. Understanding this distinct risk profile - rather than minimizing it - is what allows solo hikers to plan intelligently. For a broader look at outdoor pursuits and nature-based activities, see the Outdoor Activities hub as a starting point.
~50%
SAR incidents involving solo hikers
Search-and-rescue organizations report that a disproportionate share of wilderness rescues involve solo hikers, underscoring the importance of communication planning.
3x
Longer average rescue response for remote trails
Rescuers typically take significantly longer to reach hikers on trails with no cell coverage compared to frontcountry locations with reliable emergency contact.
70%
Rescues triggered by poor route planning
According to wilderness rescue data, the majority of hiker rescues are linked to overestimating fitness or underestimating trail conditions before departure.
Route Selection and Pre-Trip Research
Choosing the right route is the single most consequential decision a solo hiker makes. Trails that are well-trafficked on weekends can be nearly empty on weekdays, which changes your risk exposure dramatically. Before committing to a route, research recent trail reports from land management agencies or reputable hiking communities - these often surface hazards like washed-out bridges, bear activity, or water source failures that official maps won't reflect.
Match the route's difficulty to your current fitness and experience level, not where you'd like to be. Elevation gain per mile is a more reliable difficulty indicator than total distance alone. Study the trailhead access road conditions as well - getting stranded before the hike begins is a real possibility in remote areas.
The pre-trip checklist for day hikers covers the full scope of planning items worth verifying before departure, including weather checks and navigation tools.
Communication Protocols Before You Leave
A trip plan left with a trusted contact is one of the most effective safety tools available - and it costs nothing. This document should include your trailhead location (with GPS coordinates or a map screenshot), your planned route with key waypoints, your expected return time, your vehicle description and license plate, and a clear instruction: if you haven't made contact by a specific time, call the relevant search-and-rescue or park authority.
Be precise about the "call for help" threshold. Vague instructions like "if you don't hear from me by Sunday" leave your contact uncertain about urgency. A concrete trigger - "if I haven't texted you by 7 p.m. Saturday, call the county sheriff" - removes that ambiguity.
Set your turn-back time to roughly one-third of your available daylight, not your estimated halfway point - this gives you buffer for slower return conditions like fatigue and fading light.
Return trips often take longer than the outbound leg due to fatigue accumulation, and solo hikers have no group to help set a realistic pace.
When leaving your trip plan, include a photo of your trailhead sign and the parking area - rescuers can use this to confirm the exact trailhead if coordinates are ambiguous.
Many trail systems share similar names across regions, and a visual confirmation helps search-and-rescue teams deploy to the right location faster.
For trails beyond reliable cell coverage, a PLB or satellite messenger device bridges the communication gap. These devices allow two-way messaging and SOS capability regardless of cell signal.
On-Trail Decision-Making and Judgment Calls
Solo hiking demands a higher standard of self-honesty about conditions. Without group consensus or social accountability, it's easier to rationalize continuing past sensible limits. The most reliable technique for counteracting this bias is setting turn-back rules before you start hiking.
Common pre-set rules include: turn back if you haven't reached a specific landmark by a certain time, turn back if weather deteriorates beyond a defined threshold, or turn back if you're experiencing fatigue above a personal benchmark. These rules work because they're made when you're thinking clearly, not when summit fever or sunk-cost thinking has taken hold on the trail.
Wildlife encounters require specific responses that differ by species. The guide to wildlife encounters on the trail explains how animal behavior drives correct responses - knowledge that's especially critical when you're alone and can't defer to a more experienced companion.
Gear Priorities Specific to Solo Hikers
Solo hikers carry the same core essentials as any hiker, but certain items become higher priority when you're alone. Navigation tools - both a downloaded offline map and a physical compass - matter more when there's no one to ask for a second opinion. A first-aid kit with instruction reference card is more valuable when you may need to treat yourself. Extra food, water filtration capacity, and an emergency bivy increase your margin for error if a day hike turns into an unplanned overnight.
See the trail-ready day hike checklist for a structured breakdown of what to carry, from navigation to hydration to signaling tools. If you're considering extending solo trips into overnight territory, day hiking vs. backpacking outlines how the planning and gear picture shifts significantly.
Cold-weather solo hikes introduce additional hazards. The cold-weather outdoor safety guide covers hypothermia, frostbite, and layering strategies that are especially relevant when you can't share body heat or rely on a partner to recognize early warning signs.
Building the Habit of Safe Solo Practice
Safety on solo hikes isn't a checklist you complete once - it's a set of habits built incrementally. Start with familiar trails and increase remoteness and difficulty gradually. Review what worked and what created uncertainty after each outing. Experienced solo hikers often describe a growing intuition about conditions and their own limits that only develops through accumulated, mindful practice.
Joining a local hiking club or online community can accelerate that learning without sacrificing the independence that makes solo hiking appealing. These spaces surface local trail knowledge, seasonal hazard patterns, and peer-reviewed gear solutions that no single guide can fully replace.
Solo hiking at its best is an exercise in self-reliance - but self-reliance built on preparation, not overconfidence. The hikers who do it safely over many years are the ones who treat every outing as worth planning carefully, regardless of how straightforward the trail looks on paper.